Table of Contents
Introduction
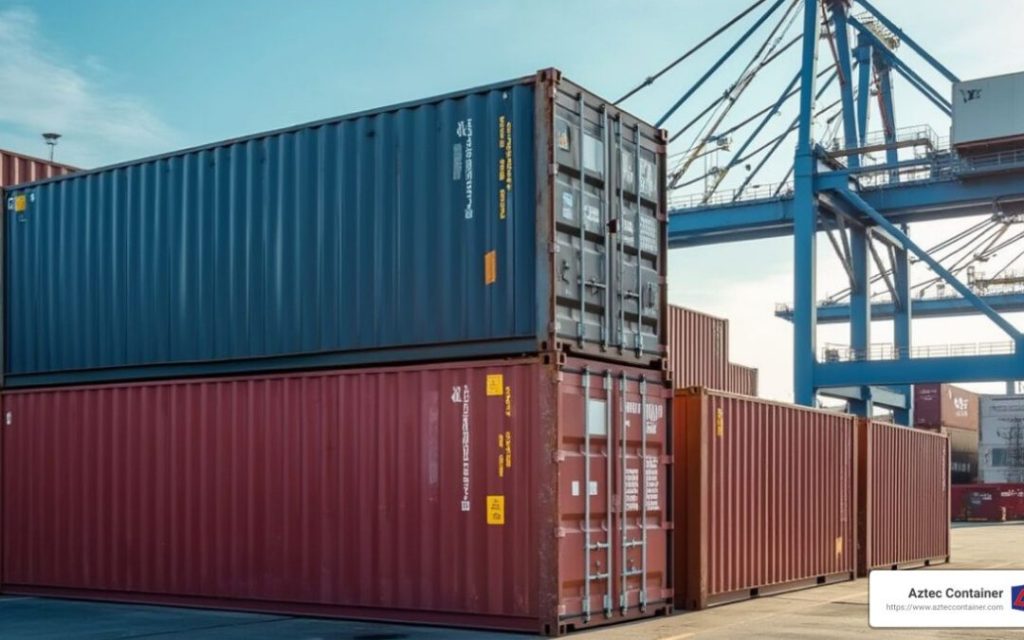
Shipping containers have become a versatile choice for modern living, working, and storage solutions. Whether you are setting up a shipping container office, a tiny home, or simply repurposing used shipping containers for sale, insulation is key to maximizing energy efficiency, comfort, and longevity. Proper insulation not only regulates temperature but also prevents moisture and condensation issues. This guide will walk you through the best practices for insulating shipping containers to create a functional and sustainable space.
Understanding the Importance of Insulating a Shipping Container
Shipping containers are made of steel, which is excellent for durability but not ideal for insulation. Steel quickly conducts heat, meaning that a shipping container can become unbearably hot in the summer and freezing cold in the winter. Insulation solves these issues by creating a thermal barrier, maintaining a consistent indoor temperature, and improving energy efficiency.
When you insulate a shipping container—whether it’s a 10-foot shipping container for a compact workspace, a 20-foot shipping container for a tiny home, or a 40-foot shipping container for a full-fledged office—you not only enhance its usability but also protect its structural integrity. Moisture and condensation are common issues in uninsulated shipping containers, which can lead to rust and damage over time.
Types of Insulation for Shipping Containers
There are several insulation methods available, each with its benefits and drawbacks. Choosing the right type of shipping container insulation depends on your specific needs, climate, and budget.
- Spray Foam Insulation: Spray foam is one of the most popular methods for insulating shipping containers. It provides excellent thermal resistance and forms a moisture barrier, making it ideal for regions with extreme weather conditions. Spray foam insulation adheres directly to the steel walls of the container, eliminating gaps where air could seep through.
- Rigid Foam Panels: Rigid foam panels are another effective option, especially for DIY projects. They are cost-effective, easy to install, and provide good insulation. This method is particularly suitable for small projects like a 10-foot shipping container office or storage unit. However, rigid foam panels may require additional sealing to ensure there are no air leaks.
- Blanket Insulation (Fiberglass or Mineral Wool): Blanket insulation is a budget-friendly option commonly used in residential and commercial buildings. While it can be adapted for shipping containers, it’s less effective in humid climates due to its susceptibility to moisture absorption. This method works well for larger projects like a 40ft shipping container office when paired with a vapor barrier.
- Eco-Friendly Options: If sustainability is a priority, consider using recycled materials or natural insulators like cork or sheep wool. These eco-friendly options are excellent for custom shipping containers designed with green living in mind.
Steps to Insulate a Shipping Container for Maximum Efficiency
Once you’ve selected the insulation type, the next step is proper installation. Follow these steps to ensure your insulated shipping container meets your needs:
Step 1: Prepare the Shipping Container
Begin by thoroughly cleaning the shipping container to remove dirt, rust, and debris. For used shipping containers for sale, inspect for dents, corrosion, or leaks that need repairing before insulation. This step is crucial for maintaining the container’s longevity.
Step 2: Add a Vapor Barrier
To prevent moisture buildup, apply a vapor barrier to the interior walls and ceiling of the container. This step is especially important for humid climates or when converting a shipping container for sale into a livable or functional space like an office.
Step 3: Install the Insulation
Carefully install the chosen insulation material. For spray foam, ensure even coverage over all surfaces. For rigid foam panels or blanket insulation, measure and cut the materials to fit snugly against the walls, ceiling, and floor. Pay extra attention to corners and edges, as these areas are prone to air leakage.
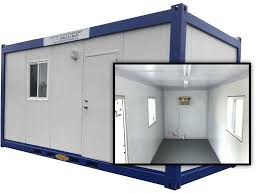
Step 4: Finish the Interior
Once the insulation is in place, add interior walls or paneling to protect the insulation and create a polished look. For custom shipping containers, this step also allows for additional design elements, such as built-in shelves or electrical wiring.
Step 5: Inspect and Maintain
Finally, inspect the insulated shipping container to ensure there are no gaps or moisture issues. Regular maintenance will prolong the lifespan of the insulation and keep the container functional for years to come.
Conclusion
Insulating a shipping container is a critical step in transforming it into a comfortable, efficient, and versatile space. Whether you’re repurposing a 20-foot shipping container into a tiny home, converting a 40ft shipping container into an office, or using a 10-foot shipping container for storage, the right insulation ensures maximum efficiency.
For those looking to purchase used shipping containers for sale, investing in proper insulation can enhance both functionality and resale value. With a variety of insulation options available, including spray foam, rigid foam panels, and eco-friendly materials, there’s a solution for every need and budget. Start insulating your shipping container today to enjoy a space that’s sustainable, energy-efficient, and tailored to your unique vision